The Mailchimp add-on needs to be installed and activated to see the features mentioned in this documentation.
Getting your Mailchimp API Key
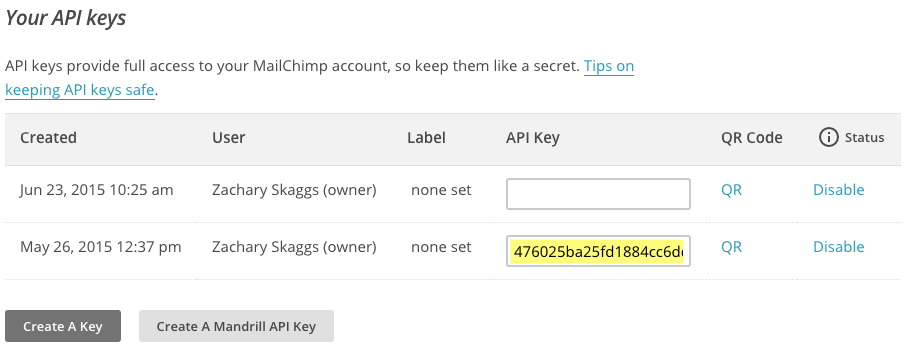
- Click this link to navigate to the API Keys section of your Mailchimp account: Your API Keys
- Copy an existing API key or click the Create A Key button.

- Your new key is in the textbox (highlighted yellow in the image). It includes the country code at the end. e.g. “476025ba25fd1884cc6dd3a5f1fbfe04-us11”
Setting up Ninja Forms to work with Mailchimp
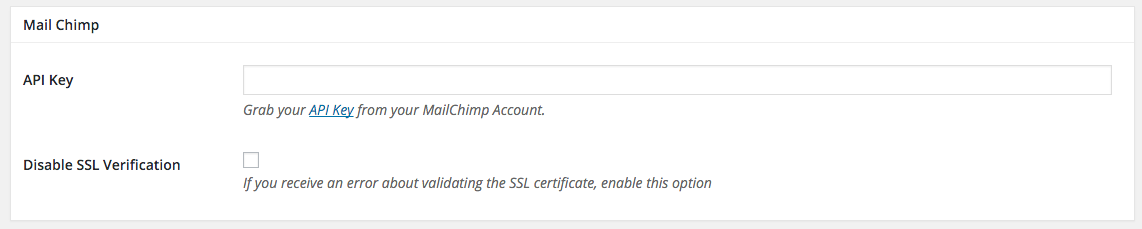
- Go to Ninja Forms > Settings. Scroll to the bottom of the Settings page and you should see the Mailchimp section.
- Copy your API key from MailChimp exactly and paste into the Mailchimp settings in Ninja Forms.

- Go to Ninja Forms > Dashboard then click the Add New button. You can then choose the Mailchimp Signup form template.

- Choose your Mailchimp list and name the form and click the Create button.

Manually Adding a Mailchimp action to your form
To add the action to any form, from the Emails & Actions tab click Add New Action and then the Mailchimp action from inside the Actions Window that opens.

Choose the Mailchimp list you would like the data to be saved to.
— Interest groups and tags are now available —-
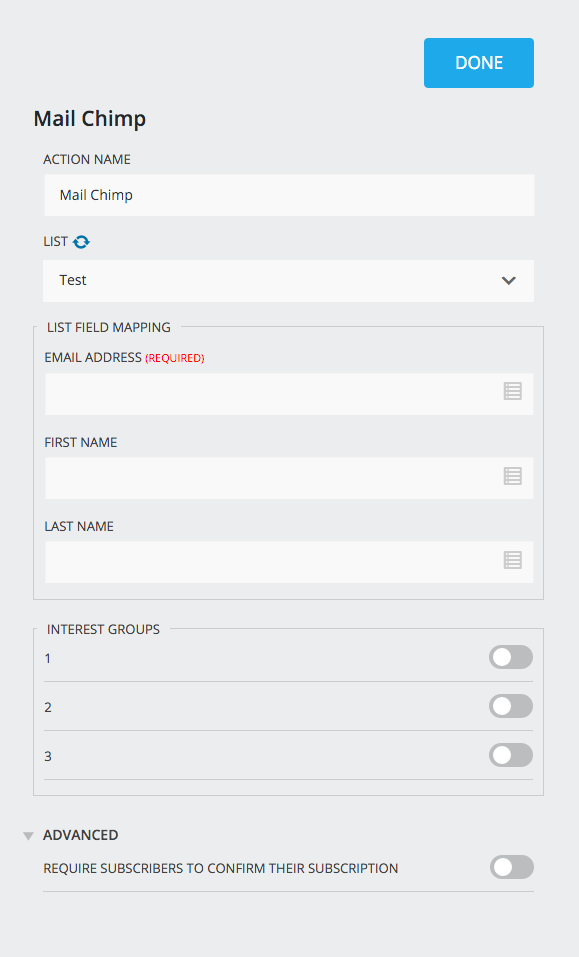
Map the fields from your form to the appropriate Mailchimp list fields using the merge tags.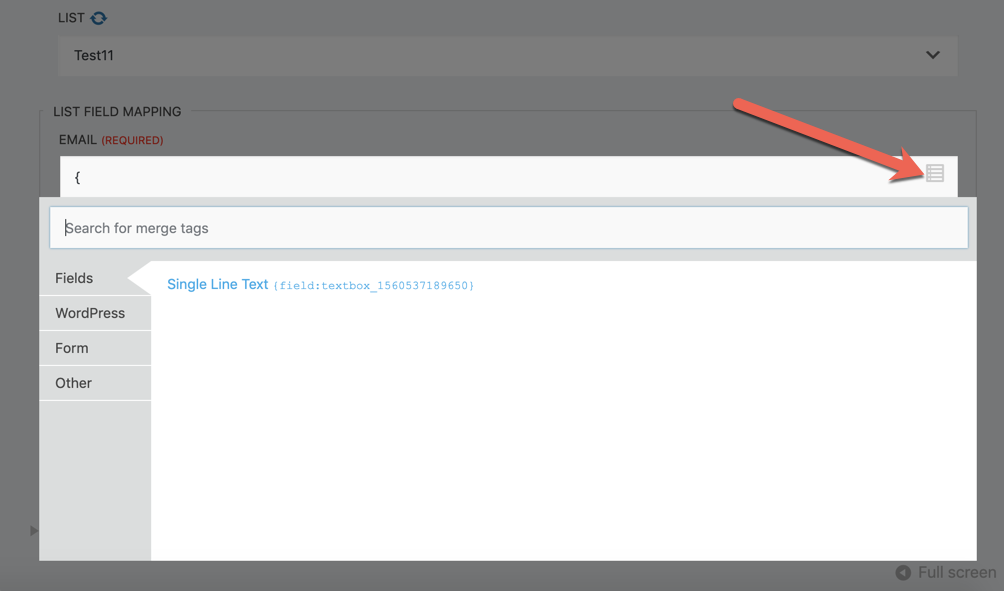
Add Tags to your list, if any.
Tags used in the Mailchimp action are case sensitive and need to be exactly the same as the tags created in Mailchimp.

Choose your Interest groups for your list, if any.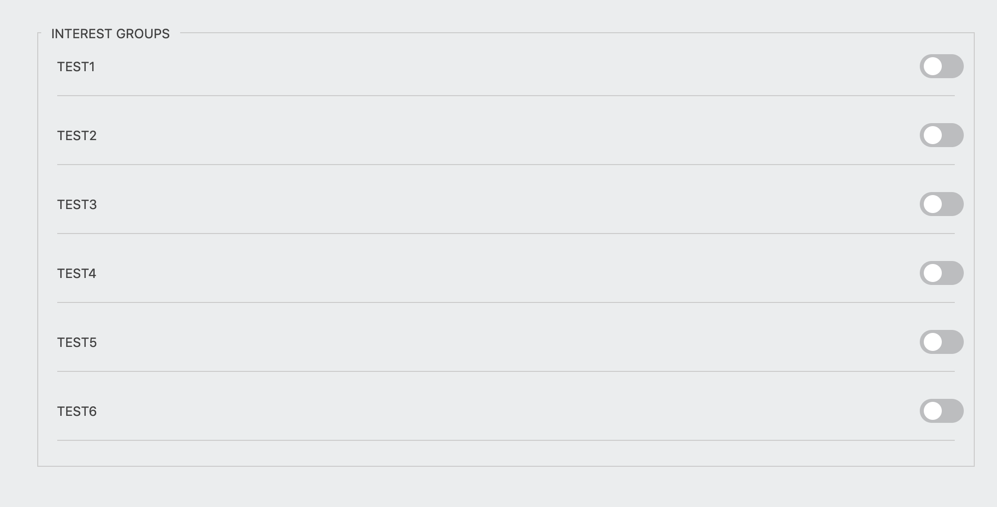
Under Advanced, Choose if you would like users to confirm their subscription.
If this option is enabled, they will be sent an email from Mailchimp to confirm their addition to the list.
To be able to map more than just the default fields to Mailchimp, you will need to create ‘Audience fields’ within Mailchimp, for them to show up within the Mailchimp action.

Creating an Audience field in Mailchimp
Within your Mailchimp account, navigate to ‘Audience’.

Then click ‘More Options’ and select ‘Audience fields and merge tags’.

Click ‘Create a new field’.

A window will open and you will be able to give the field a label and choose the type of field.

Once you have created a field within Mailchimp, refresh your Ninja Forms form and resync the Mailchimp List within the Mailchimp action, for the newly created field to populate and show amongst the options to map to.

Your newly created Audience field will then show in the Mailchimp action, which you can then map to.

Mapping Checkbox List, Radio List, and Select Fields to Mailchimp
Please note that when using checkbox list, radio list, or select fields, the values you input into Mailchimp for the ‘Choices’ must match exactly to the values of your checkbox list, radio list, and select fields within the form builder.


To be able to add a tag to the submission, you will need to add a ‘Tag’ within Mailchimp for them to be added to the Mailchimp action Tags field when mapping fields.

Creating a Tag within Mailchimp
Within your Mailchimp account, navigate to ‘Audience’ > ‘Tags’.

Then click ‘Create new tag’.

Once you have created your tag, you can now use it within the Mailchimp action.

Please note that the tag is case sensitive. It needs to match exactly to how you have created it in your Mailchimp account.
If you add more than one tag to your Mailchimp action, they need to be separated with a comma.

To be able to categorize the submission into a specific group, you will need to create a ‘Group’ within Mailchimp for them to show up within the Mailchimp action, under Interest Groups.

Creating a Group within Mailchimp
Within your Mailchimp account, navigate to ‘Audience’.

Then click ‘More Options’ and select ‘Groups’.

Click ‘Create group’.

A window will open and you will be able to set up your Group.

Once you have created a Group within Mailchimp, refresh your Ninja Forms form and resync the Mailchimp List within the Mailchimp action, for the newly created Interest Groups to populate and show amongst the options to toggle on.


Want the subscriber to be only added to a specific group based on a selection in the form?
You can have multiple Mailchimp actions, each set differently according to the interest group you want them added to.
With the Conditional Logic add-on you can conditionally send information to Mailchimp and have subscribers added to specific groups based on a selection made within the form.


Mailchimp Opt-in field
The Mailchimp Opt-in field gives the user an option to choose if they want to be added to a Mailchimp list without the need to set up a Conditional Logic statement.
To add a Mailchimp Opt-in field to your form, click on the blue add field button, then choose the Mailchimp Opt-in.

If the Mailchimp Opt-in field is checked, the Mailchimp Action will be processed and the user will be added to the list. If the Opt-in is unchecked, the Mailchimp Action will be ignored.
Formatting Dates
When sending dates to a Mailchimp Date-type field, it is best to use one of two formats:
- DD-MM-YYYY
- MM/DD/YYYY
[su_divider top=”no” divider_color=”#ccc” size=”8″ margin=”50″]
[su_box title=”Mailchimp Tutorials & Blog Articles” style=”noise” box_color=”#eceff7″ title_color=”#EC494D” radius=”8″]
Proven Ways to Get More Newsletter Signups How to Automate Zoom Webinar Registration & Mailing List Subscriptions Connecting Mailchimp to WordPress Creating a Signup Form in WordPress Send Custom Data to Mailchimp
[/su_box]