The Multi Step Forms add-on needs to be installed and activated to see the features mentioned in this this documentation.
Creating a Multi Step Form
Start by adding fields to the first part of your form. Once you add a field, you should see a grey circle/+ sign show up in the bottom right of the form builder.

Once the part is added, you can then edit its settings by clicking on the tab that appears at the bottom of the screen.

This options drawer will give you the options to rename the part or remove the part.

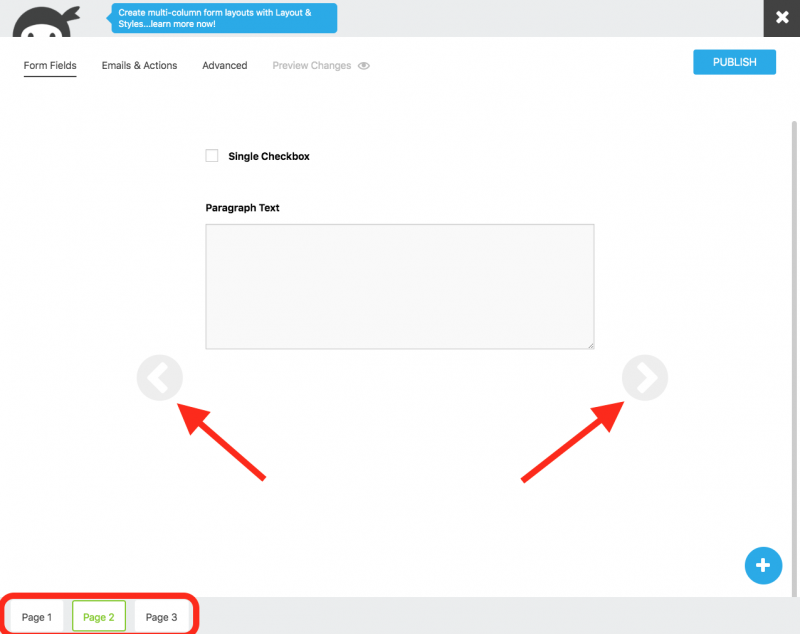
You can move between parts by clicking the grey circle/< > icons or the tabs at the bottom of the form.
You can move fields to different parts of the form by dragging them to the arrows or to the tabs.
You can change the order of the parts by dragging the tabs in your desired order.

Configure additional Multi Step features on the form.
There are a number of features and settings that can be applied to your new multi step forms. You can find these features in the form builder’s Advanced tab.

Validate Each Part: When toggled on (green), users will not be able to move between parts until each required field or confirmation field has been completed.
Show Breadcrumbs: Displays breadcrumb navigation at the top of each part. This lets the user click between parts themselves.
Show Progress Bar: Displays a progress bar at the top of each part.
Show Part Titles: Displays the Part Title at the top of each part for the user.
Previous Button Label: Changes the text of the Previous button on each part.
Next Button Label: Changes the text of the Next button on each part.
[su_divider top=”no” divider_color=”#ccc” size=”8″ margin=”50″]
[su_box title=”More things you can do with Multi Step Forms!” style=”noise” box_color=”#eceff7″ title_color=”#EC494D” radius=”8″]
Create Multi Step Forms
[/su_box]