Are you looking for a simple field that enables users to provide a confirmation or denial to the queries on your form? Imagine you have a form and you need users to agree to your privacy policy or terms and conditons.
If you want to present users with only one option to choose from, something like yes/no or true/false, the Single Checkbox is your way to go. In today’s article, we’ll show you not only how to add a Single Checkbox field in WordPress, but we’ll also demonstrate a creative way how you can use it on your form. Let’s get started!
Table of contents
- How to add a Single Checkbox to your form
- When to use a Single Checkbox in your WordPress form
- Create smart form using the conditional logic with a Single Checkbox
1. How to add a Single Checkbox to your form
Did you know Ninja Forms provides free access to all existing field types? This also applies to the Single Checkbox field, allowing you to build a powerful form without the need to upgrade.
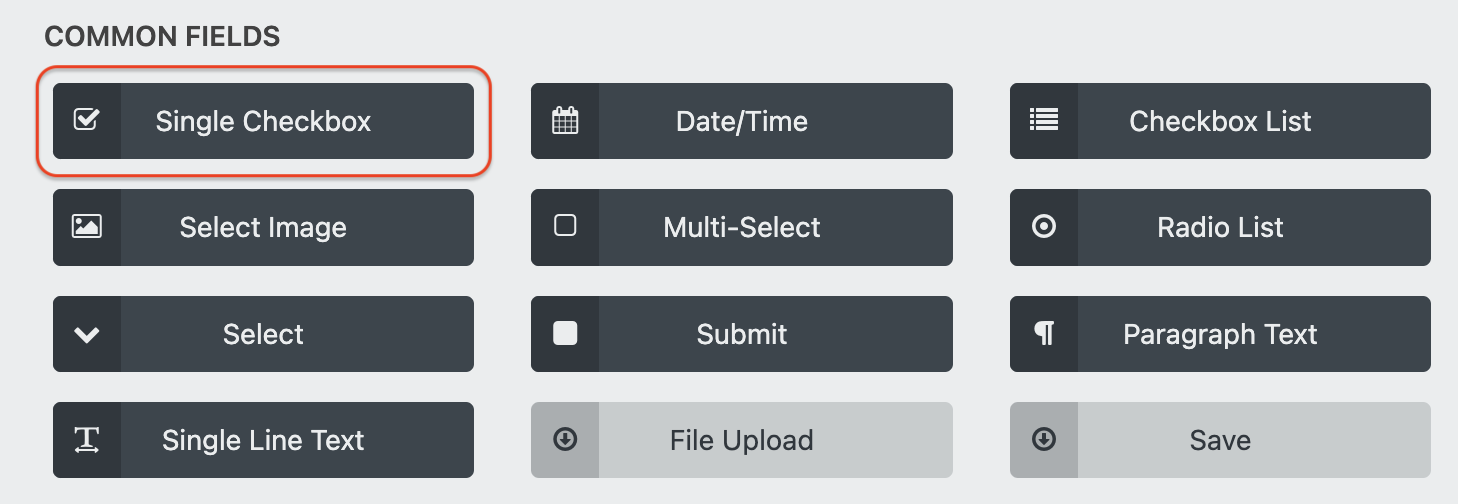
Adding an Single Checkbox field to your WordPress form is very easy with our drag-and-drop form builder. This form field is located under the Common Fields. All you need is to click or drag-and-drop the Single Checkbox into your form builder.

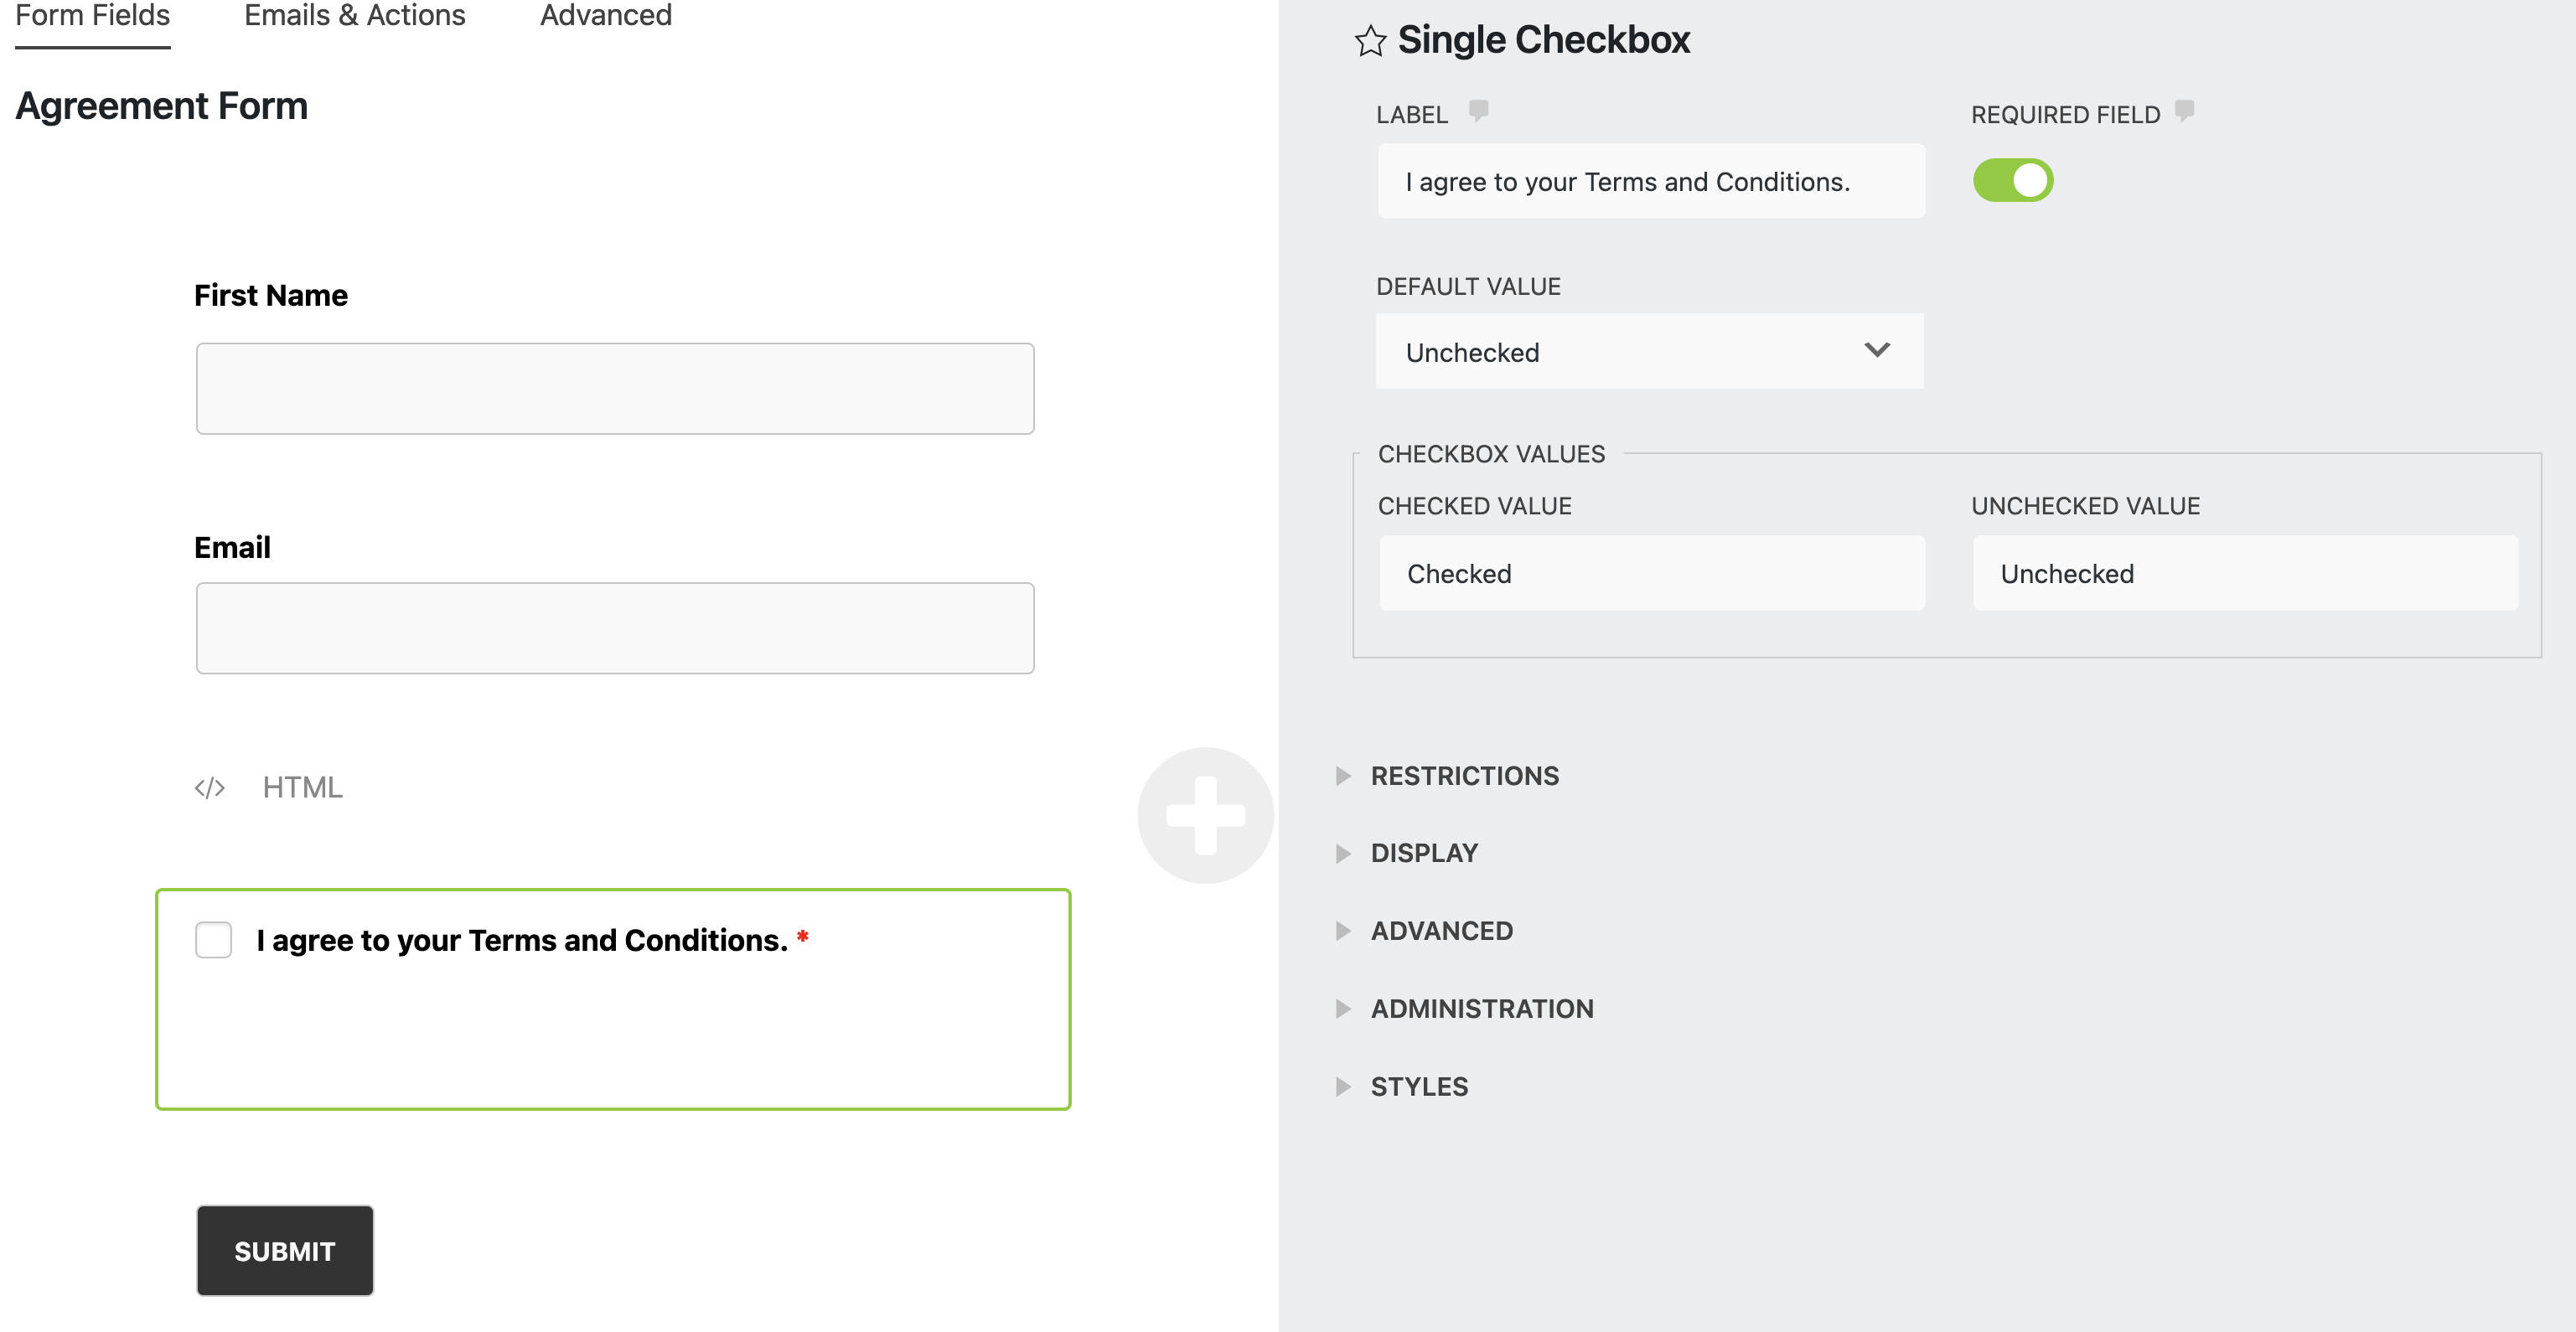
Let’s take a look at what settings are available for this field. To access them all, make sure you have the developer mode enabled. This will allow you unlock all the hidden features. (Don’t worry, it’s free!)
Now that you’ve learned how to add a Single Checkbox field to your form, let’s take a look at the example of how to use a Single Checkbox in WordPress.
2. When to use a Single Checkbox in your WordPress form (Example)
The Single Checkbox provides valuable assistance in achieving GDPR compliance. One of the primary applications of this field in WordPress is for users to agree to your Terms & Conditions or Privacy Policy.
These are legally binding agreements between your company (WordPress website) and people visiting your website. If you are looking to implement a checkbox field in your form for this use case, you can use common phrases such as:
- I agree to the Terms and Conditions
- I agree to the Privacy Policy
- I have read and agree to the Terms
- I have read and agree to the Privacy Policy
- Click checkbox to indicate you agree to the terms and conditions
Most common places you might want to include a Single Checkbox in WordPress is on your checkout form, an email newsletter sign-up forms, job application forms, registration forms, etc.
We created a simple demonstration form using a Single Checkbox for Terms & Conditions agreement.

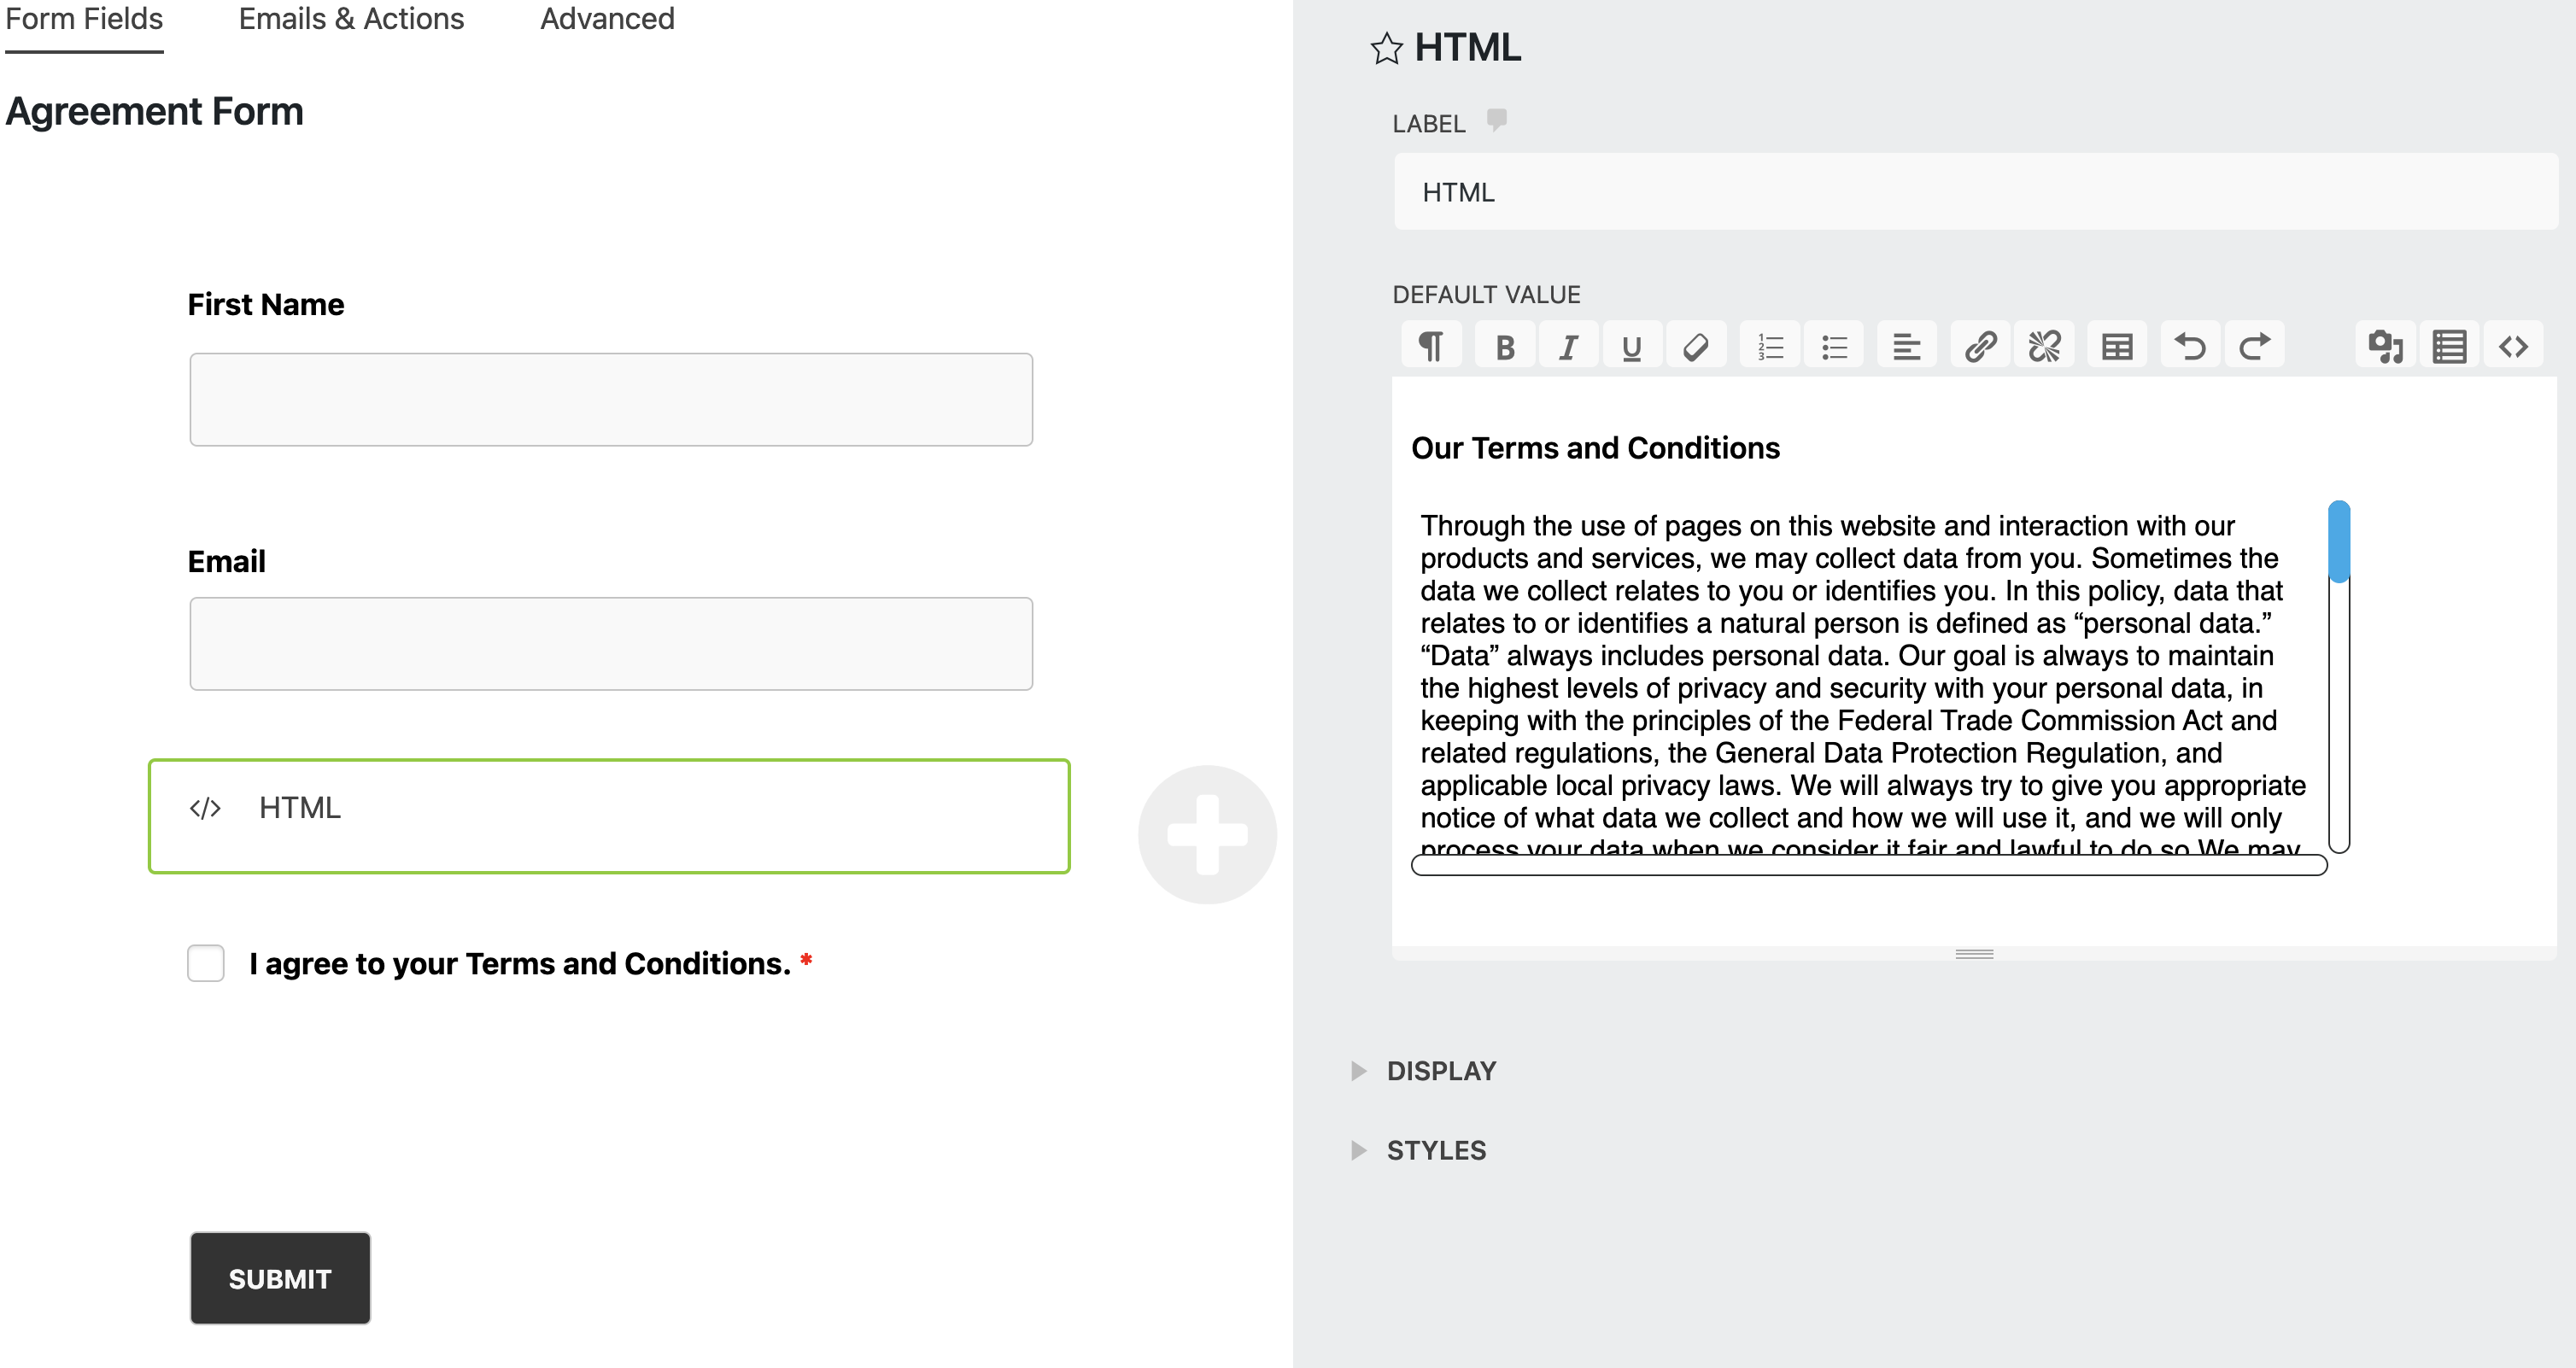
We added an HTML field to the form so we can display the text of the agreement. As a bonus, we added an exciting scroll effect that allow users to scroll through the text for a better user experience.

Check the final result on the video below! If you want to create scrolling effect, we included the HTML code for your convenience located under the video. Just copy and paste it into the HTML field of your form and make any modifications you like!
This is the code you want to copy to your HTML field:
<p><b> Our Terms and Conditions</b></p>

<style>
body {margin-bottom: 200%;}.scroll {border: none;padding: 5px;font: 15px sans-serif;width: 500px;
height: 200px;overflow: scroll;}::-webkit-scrollbar {width: 12px;height: 12px;}::
-webkit-scrollbar-track {border: 1px solid #2E3030;border-radius: 10px;}::
-webkit-scrollbar-thumb {background: #1EA9EA;border-radius: 10px;}::
-webkit-scrollbar-thumb:hover {background: #1EA9EA;}
</style>
<div class="scroll">Your text</div>
3. Create smart form using the conditional logic with a Single Checkbox
Want to dynamically show a new field if user clicks on the Single Checkbox and hide the field if the user for example does not agree to the conditions?
Using the conditional logic functionality, you can show/hide specific fields based on the user’s selection of the form to create a smart form.
As shown in the video, you can show/hide a single-line text field (signature field) with conditional logic, so users can type the signature after they click the checkbox.
This is a great way how to create a signature field if the simple checkbox field is sufficient. If you want to learn more about how to set this up step-by-step, visit our blog post Create a Typed E-Signature in WordPress Form. However, if you need your agreement to be legally binding, we strongly recommend you to use a signature plugin.
Congrats on mastering a Single Checkbox in WordPress!
You’ve just learned the most important facts about the Single Checkbox Field. We hope you enjoyed our guide to one of many form fields Ninja Forms has to offer. If you want to get similar tips for other Ninja Forms fields, explore the following guides and get inspired!
- Dropdown Select Field in WordPress Forms (Quick Guide)
- 5 Ways to Use an HTML Field in Your WordPress Form
- 5 Ways to Use a Single Line Text Field in WordPress
Are you new to Ninja Forms? If so, try our core plugin! It’s free and packed with so many free features that you don’t even need the paid version. Download the Ninja Forms plugin today and start building powerful forms without a need for a developer or designer!


