Since you’re here, chances are you’re already using monday.com to get things done.
But you also use WordPress forms. You’ve had enough of having to check your email or log into WordPress to see the new submissions. You’re wondering if it’s possible to monitor everything in one place, send new WordPress forms submissions directly to your monday.com board.
The good news is, it’s achievable and easy to do! This tutorial will walk you through how to integrate monday.com with WordPress in less than 10 minutes.
Here’s how to send any new WordPress form submission into monday.com
Before you follow this guide, make sure you have:
1. Get set up with Zapier.
The Ninja Forms Zapier add-on is the tool that establishes the link between WordPress and the application you want to send data to. First, install and activate it on your website.
Next, create an account with Zapier themselves. Now you’re ready to get started!
2. Make a Zap!
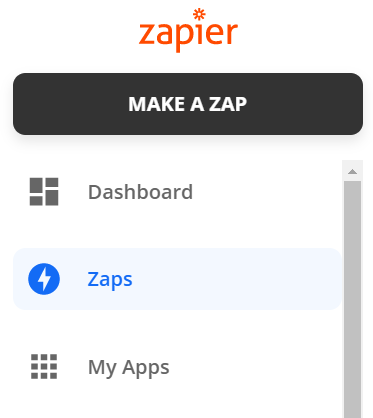
Zapier handles integrations between thousands of apps, and these integrations are called Zaps. We’ll be creating a Zap that will connect Ninja Forms with monday.com. It’s super simple. Just log into your Zapier account and click “Make a Zap” in the left toolbar.
3. Setup your Zap to integrate monday.com with WordPress
Once you’re in the zap setup page, just search Ninja Forms in the App & Event search bar to find us:
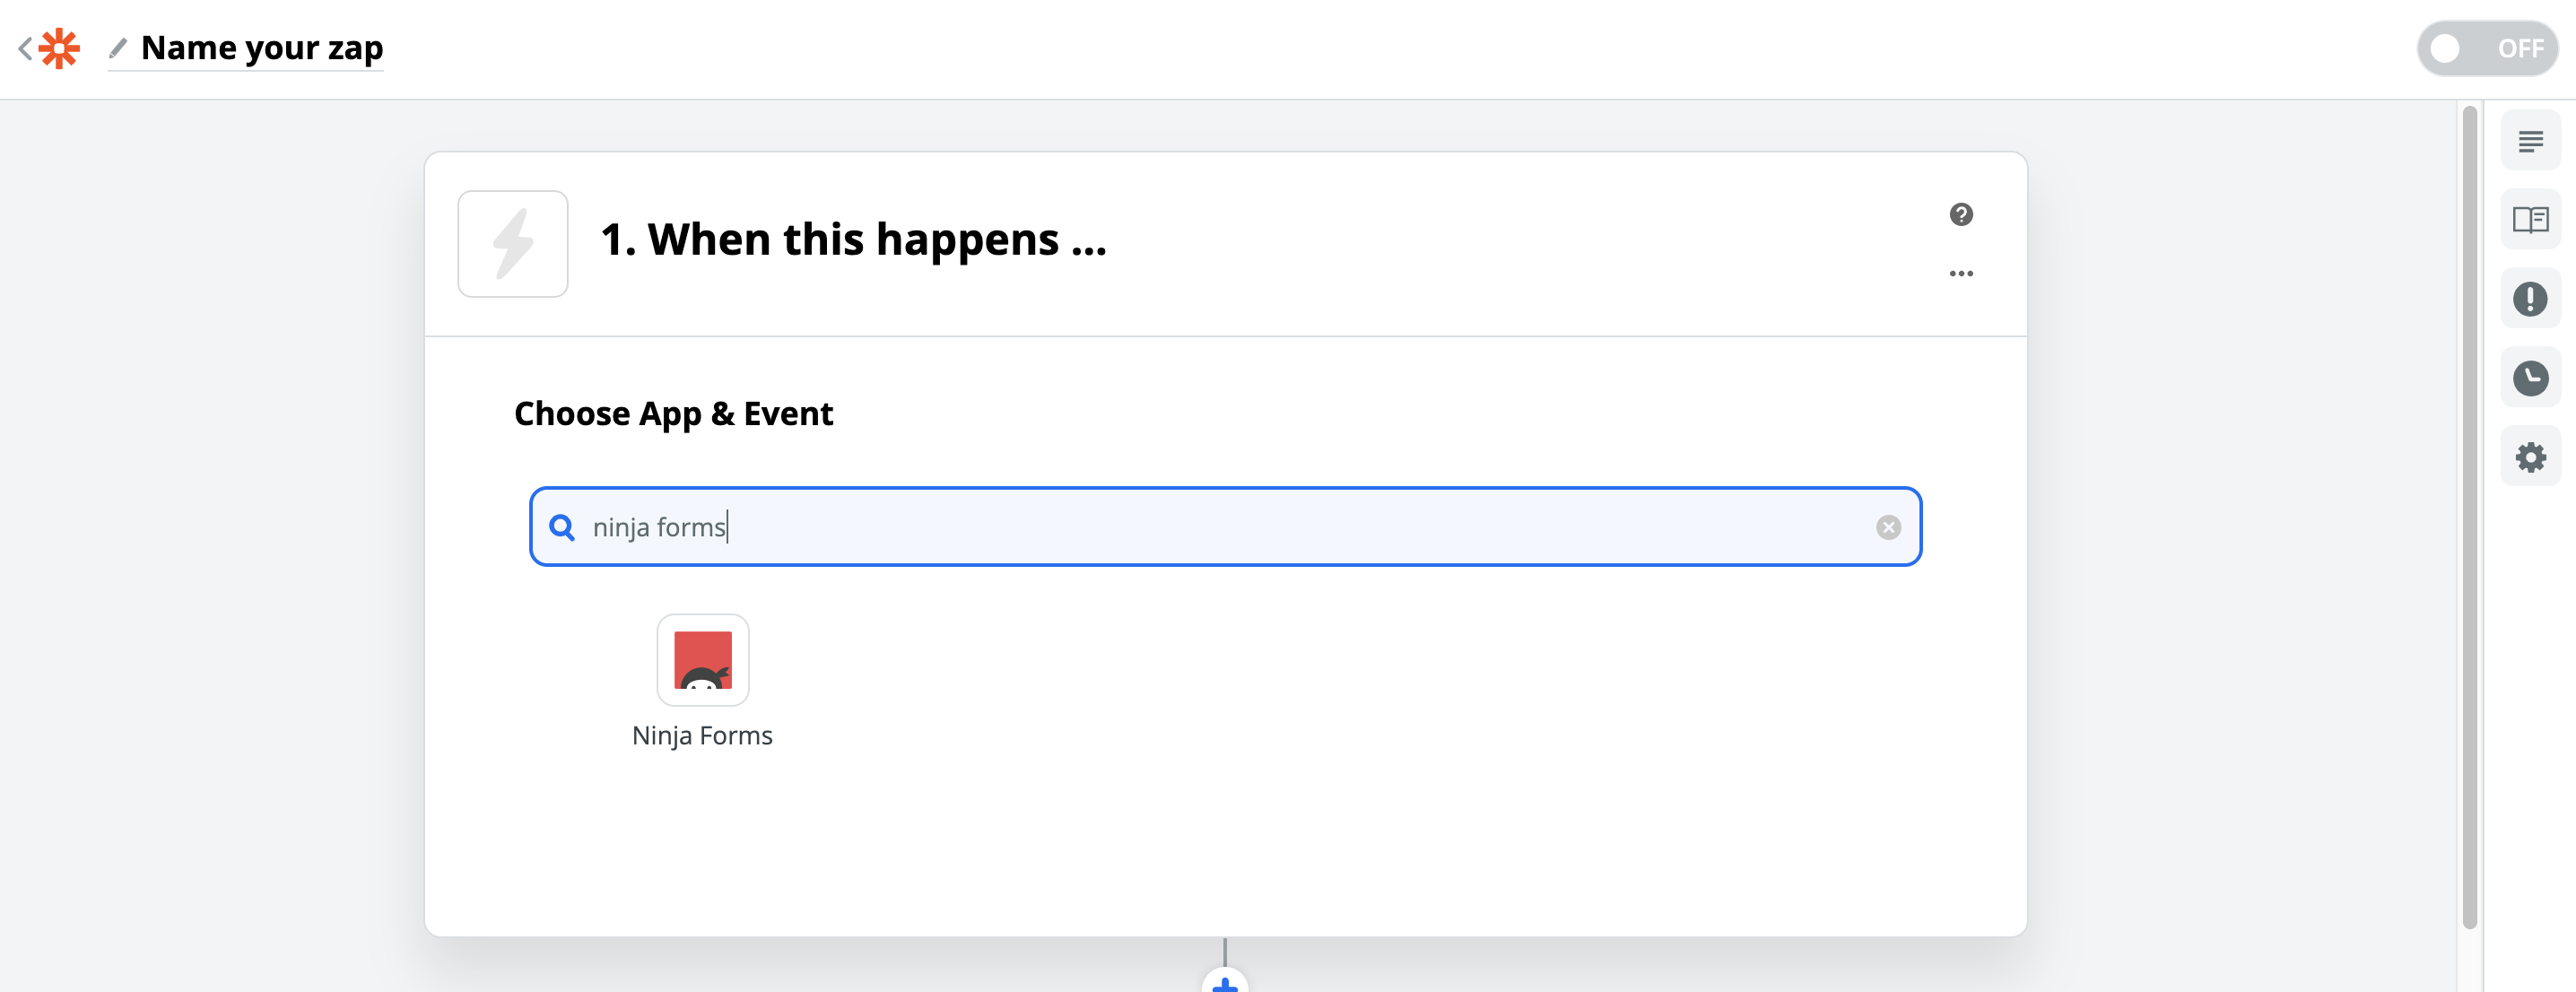
Leave “New Form Submission” set as the Trigger Event and Continue. You’ll now see a webhook:
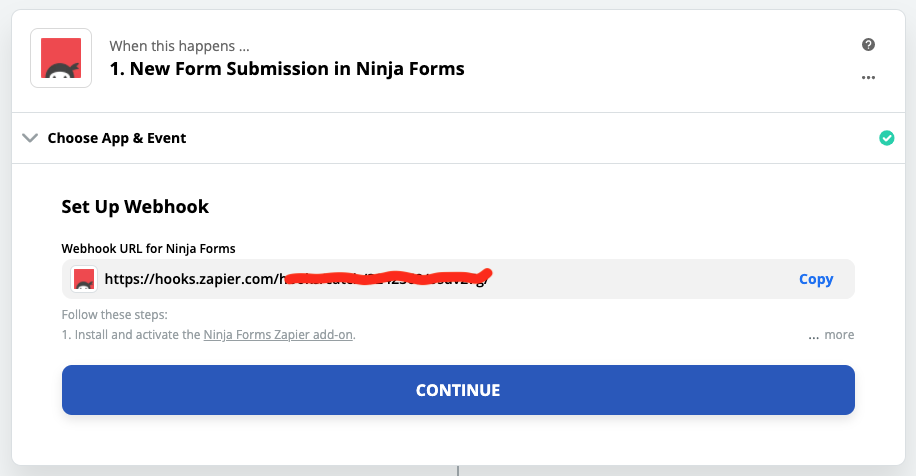
Copy it, then head back to WordPress and into your form (or create one to the specifications you need). Add a Zapier action and paste the webhook into the Zapier Webhook field:
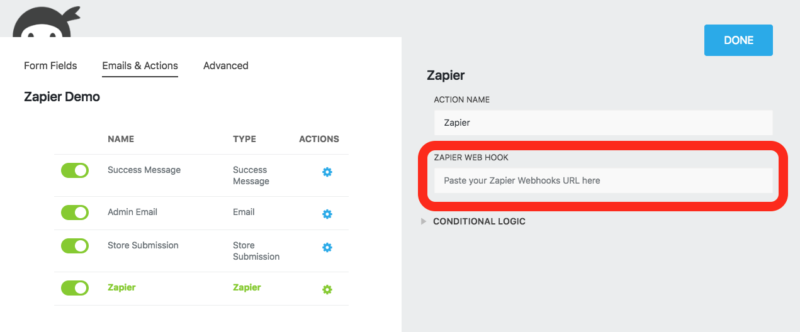
Now Publish (save) the form, Preview the form, enter test data into each field (do not skip this step!), and Submit the form preview. Now head back to Zapier, and click ‘Continue’.
You’ll now be prompted with a few options to proceed. We recommend to Test & Continue to make sure the webhook has succeeded in establishing a connection. If anything goes wrong, Zapier will give you troubleshooting steps.
On a successful test, it’s now time to connect WordPress to monday.com. Same as before, search and select them:
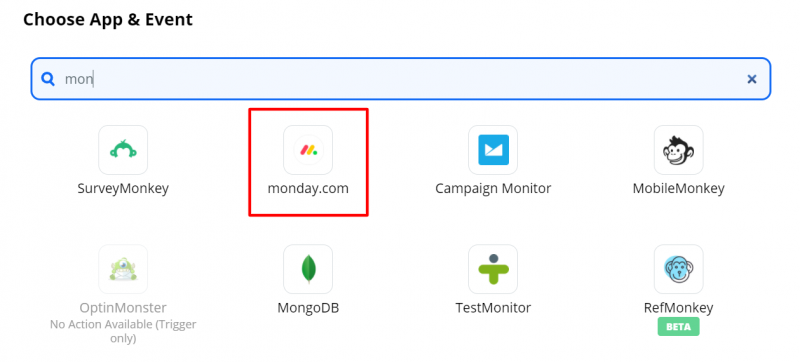
In this example, we want to add a new item in monday.com every time there’s a new submission in Ninja Forms. Once you select the app and the event, Zapier will then ask you to authorize your monday.com account.
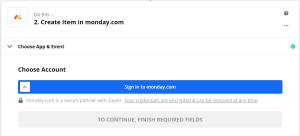
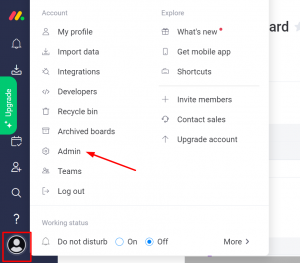
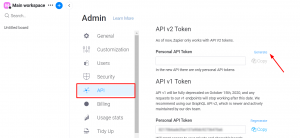
A popup window will ask for your monday.com Personal API. Find this in your account by going to Account > Admin > API, then click ‘Generate’.
Once you’ve added your monday.com account successfully, you’ll be able to choose that account in Zapier. Click ‘Continue’.
Next, you should see the monday.com fields in Zapier:
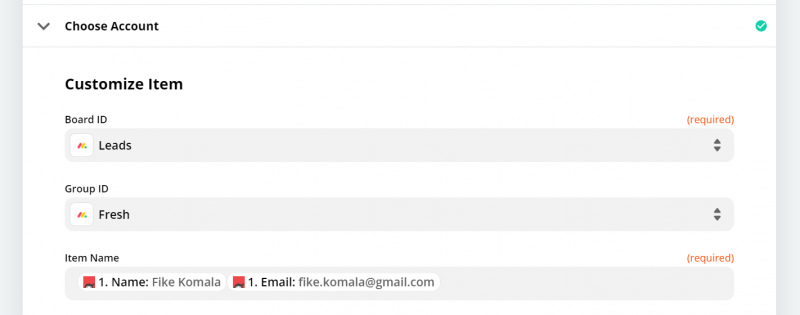
Now just map the fields of your form to the monday.com fields you want to populate. The only required fields are the Board ID and the Item Name.
You’ll see that Zapier is using the field data from when you submitted the form preview above to learn which field is which. When you continue, this test data will be sent through to your monday.com to confirm the connection!
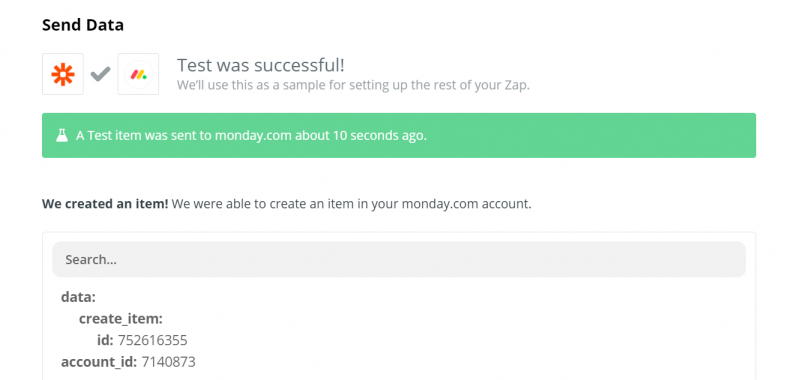
Now you have form submissions in your monday.com workflow!
What happens when there’s a new submission? You don’t need to log in to WordPress. You will see them on your monday.com board, ready to be tackled! For more tips, see this post by the monday.com team on how to manage projects on WordPress.
Leave your suggestions in the comments below! What tutorial would you want to see next?
