WordPress Email Validation: What Actually Works
Someone fills out your newsletter signup or contact form, hits submit, and gets a friendly “thanks” message. Except the email address they typed was a typo, a throwaway, or flat out fake, and you never find out until your welcome email bounces or your follow up goes nowhere.
That single bad address costs more than one lost contact. It skews your subscriber count, wastes a send from your email platform, and buries a real signup a few rows down in a list full of noise. Multiply it across a busy form and cleaning up after the fact becomes its own chore.
The fix isn’t one setting, it’s a spectrum. Email validation in WordPress already runs on every form built with an Email field, and you can layer on more depending on how much certainty you actually need. Below is that spectrum in order, from what’s already working to what requires an outside service.
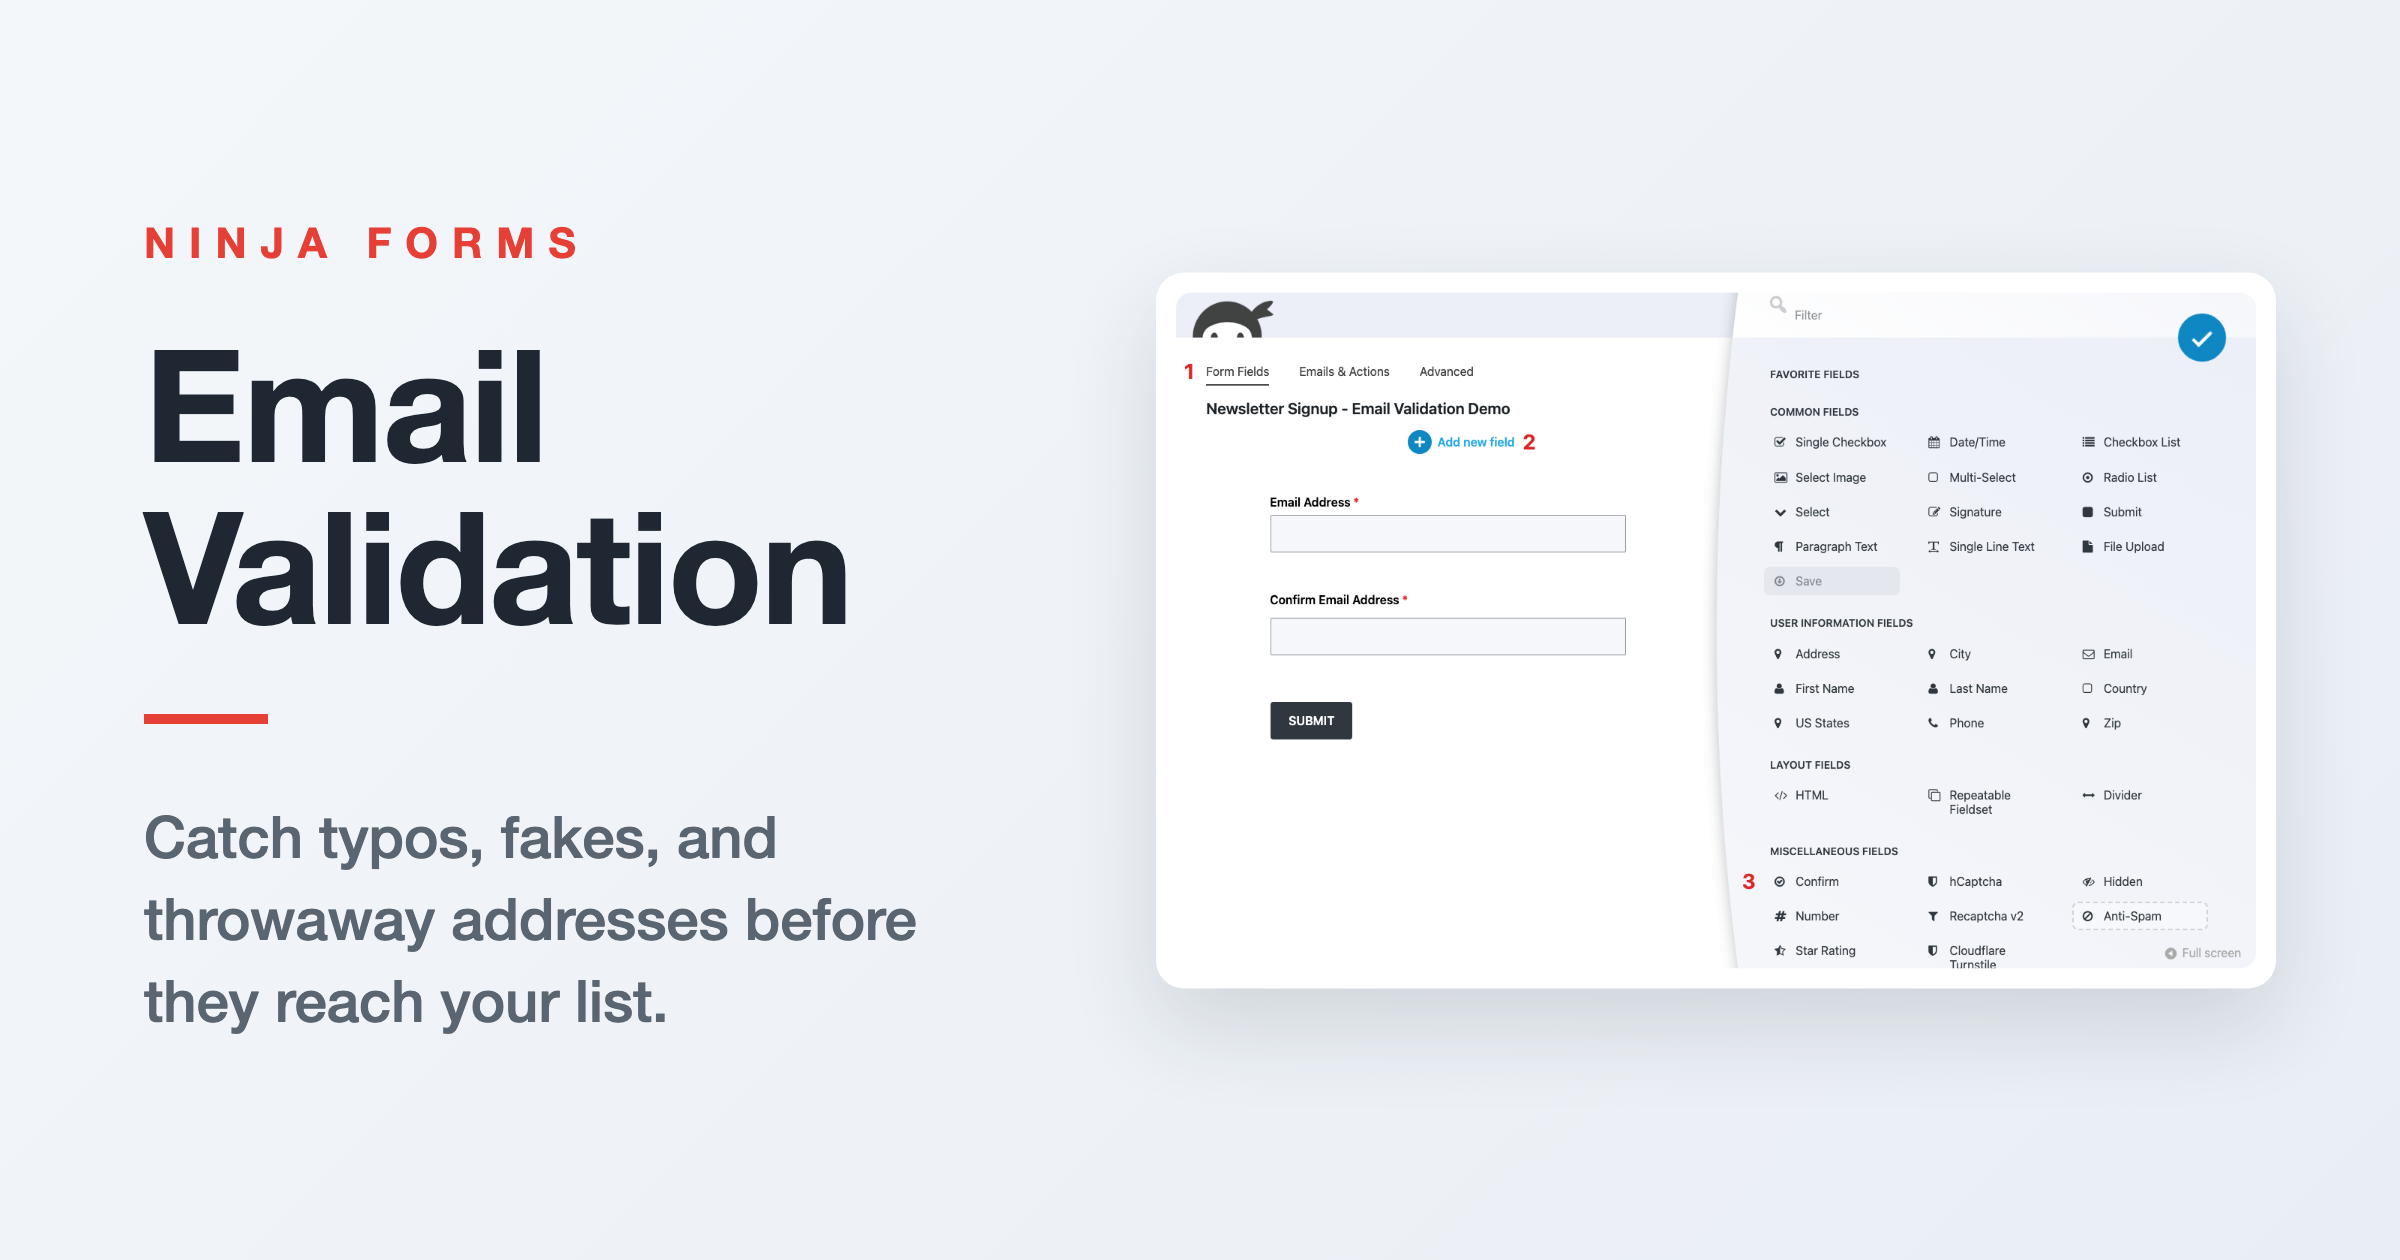
What you’ll need
To follow along with the built-in methods, you’ll need Ninja Forms (free). The double opt-in method later in this guide requires a connected email marketing add-on, such as Mailchimp or ActiveCampaign (included with memberships or available as standalone add-ons), plus an account with that email service.
What email validation actually means on a WordPress form
“Validate,” “verify,” and “confirm” get used interchangeably by people searching for this, but they describe three different checks. Knowing which one you actually need is most of the battle.
- Validate (format check): confirms the text is shaped like an email address, such as someone@somewhere.tld. It does not confirm the domain or mailbox is real.
- Verify (existence check): to verify an email address this way means confirming the domain and mailbox actually exist and can receive mail. This requires looking the address up against a live mail server, not just reading the text.
- Confirm ownership (double opt-in): confirms the person who submitted the form actually controls that inbox, by sending a link they have to click.
Ninja Forms’ Email field type handles the first one, format validation, automatically on every form. It runs the check twice: once in the visitor’s browser as they type, and again on the server using two standard tools, PHP’s filter_var() and WordPress’s own is_email() function. That second, server-side check matters because it still catches an obviously malformed address even if someone has JavaScript turned off or bypasses the on-page check entirely.
Existence checks and ownership confirmation are separate problems, covered further down. Here’s how each one plays out in practice, starting with what you already have.
Ninja Forms checks email format automatically
If your form has an Email field, this layer of email validation is already running. There’s no setting to turn on and nothing to configure: any text that isn’t shaped like a real email address gets rejected before the form submits.
Here’s the catch worth understanding up front: format checking only confirms shape, not reality. An address like purple.llama@example.com sails right through, even though example.com isn’t a domain anyone actually uses. Ninja Forms has no way to know that from the text alone. If someone mistypes gmail.com as gmial.com, or makes up an address on the spot, format validation won’t catch it. That’s the gap the rest of this guide addresses.
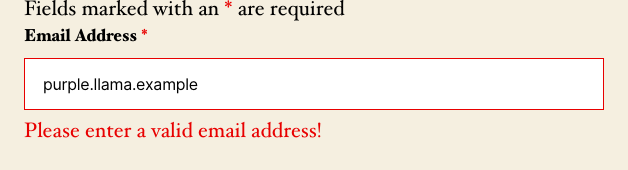
What a visitor actually sees when the format check fails is “Please enter a valid email address!” That’s the message you can customize, and the setting lives at the form level rather than on the field itself: in the builder, open the Advanced tab, choose Display Settings, expand that drawer’s Advanced accordion, and look in the Custom Labels section for that text. There’s a second, server-side fallback message with slightly different wording that only appears if a visitor has JavaScript disabled, and it isn’t editable in that same field, so don’t expect changing one to change both.
Format checking is a real, always-on layer of protection, but it stops at spelling. The most common culprit behind a bad address is a simple typo, and the next method catches those without needing anything beyond Ninja Forms itself.
Catch typos with a Confirm field
A Confirm field asks visitors to type their email address a second time and blocks the submission if the two don’t match. It’s a strong, no-account-needed way to catch typos, since most people don’t make the exact same mistake twice in a row. It won’t stop someone deliberately entering a fake address, though: they’ll simply type the fake the same way twice. What it removes is the accidental bad address, which is the far more common one.
One thing to know before you set this up: a Confirm field does nothing by itself. Dragging it onto your form doesn’t automatically create a matching requirement. Until you explicitly point it at the field it should match, it behaves like an ordinary, unconnected text box, accepting anything, including a value that doesn’t match the original field at all, with no warning and no error.
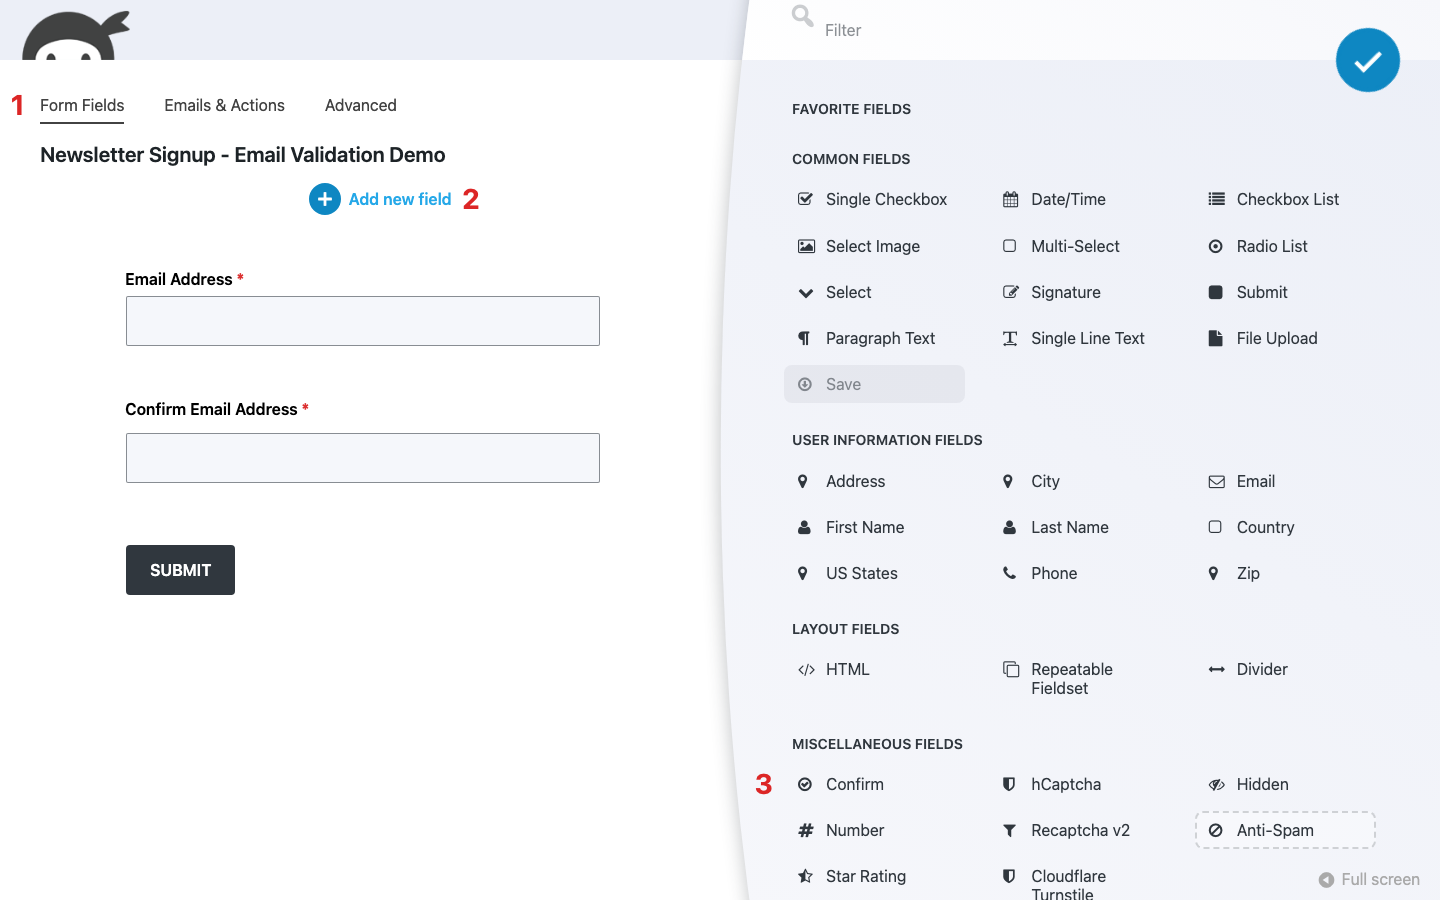
- Open your form with the Form Fields tab active.
- Click the blue (+) icon to open the Fields window.
- In the Fields window, click Confirm to add the field to your form.
- Click the new Confirm field to open its settings window, then use the Confirm dropdown to select the field it should match, for example Email Address.
- Mark both the original field and the Confirm field as required.
- Publish your form.

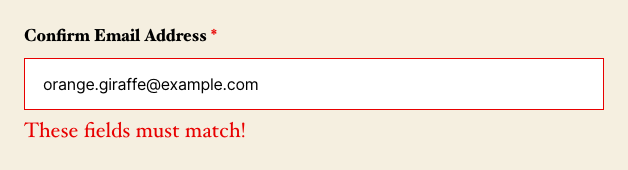
Once the pairing is set, a mismatch blocks the form with the message “These fields must match!” That message is editable in the same place as the format error above: the builder’s Advanced tab, under Display Settings, in that drawer’s Advanced accordion under Custom Labels.
Format checking and a paired Confirm field together catch malformed addresses and nearly every typo. What neither one can tell you is whether the address is real, or whether the person submitting actually owns it. The two methods below close that gap.
Give Ninja Forms a try today!
Ninja Forms is free! Optional premium features available with any membership.
Add real-time email verification with Clearout
There’s one more level beyond everything above. Real-time WordPress email verification confirms an address is not just well-formed and owned, but actually exists and can receive mail right now. Ninja Forms doesn’t run live mailbox checks itself; for that, we recommend Clearout Email Validator, a verification service and Ninja Forms partner whose WordPress plugin connects directly to your forms.
The Clearout plugin checks addresses in real time as visitors submit your form, and it catches what format checking can’t: mailboxes that don’t exist, and the disposable or temporary addresses people use to slip past a signup. Setup is a normal plugin install plus a free Clearout account and an API token, with no automation tools or custom code involved. We put together a step-by-step walkthrough in our guide to blocking disposable email addresses in WordPress.
Prefer a different verification service? Most of them expose an API you can reach by routing submissions through the Zapier or Webhooks add-ons, though wiring that up is more of an advanced-user project than the plugin route above.
For many forms, format validation plus a Confirm field catches the everyday problem: a typo slipping through. Reach for real-time verification when a bad address is genuinely costly, like a paid signup flow where you can’t afford a bounced welcome email, or any list where disposable addresses keep showing up.
Confirm real ownership with double opt-in
Double opt-in sends a confirmation link to the address someone submitted and only counts them as subscribed once they click it. It’s the only method here that proves the person actually controls the inbox, rather than just typing something that looks plausible.
This is specifically an email marketing feature, built for growing a subscriber list, not a general anti-fake-submission setting for every kind of form. It’s the right fit for a newsletter signup. It isn’t the right tool for, say, a one-time contact or quote request form that has no email list behind it.
Ninja Forms doesn’t include double opt-in in core. It’s available through two connected add-ons:
- Mailchimp: the Mailchimp add-on’s action includes an Advanced setting to require subscribers to confirm before they’re added to your list. Mailchimp sends and manages the confirmation email itself.
- ActiveCampaign: opt-in confirmation is configured on ActiveCampaign’s own side, inside its Forms options, rather than in the Ninja Forms action. See the ActiveCampaign add-on docs for the exact setting.
If you’re already sending signups to an email marketing platform, turning on its opt-in confirmation is a small setting change that closes the ownership gap entirely for that list. If you aren’t using either service, this method isn’t available to you without adding one. In that case, real-time verification above is the closest alternative that doesn’t depend on an email marketing platform.
Matching the check to what you’re actually protecting
Format validation is already running on every Email field, a paired Confirm field catches typos with nothing extra to install, double opt-in proves real ownership once you’ve connected an email marketing add-on, and Clearout adds real-time verification when you need to know an address actually exists. Start with the first two on any form that takes an email address, and layer on the rest as the stakes rise.
Try Ninja Forms Today
Always free, with premium features available through our memberships.
This post does a great job explaining that email validation for Ninja Forms isn’t only about checking if an address looks correct — it’s also about making sure notifications actually reach the inbox. I especially liked the reminder about keeping the From Address on the same domain as the website, because that’s one of those small settings that often causes hidden deliverability problems in WordPress forms. A lot of users focus only on the form builder itself and forget how much SPF, DKIM, and SMTP setup affect results. Very practical guidance for anyone trying to improve form reliability without guessing where emails are getting blocked.