AI Form Builder for WordPress: Describe It, Build It, Stay in Control
Building a form from scratch means knowing which fields to add, which settings to toggle, and how to wire up the right notifications, before a single submission ever comes in. For a simple contact form that’s a minor annoyance. For anything more layered, like an intake form with several fields and a couple of email notifications, it’s often enough friction that the form never gets past the “we should build that” stage.
Searching for an AI form builder for WordPress usually leads somewhere else entirely: a separate hosted tool, a separate login, a separate subscription stacked on top of everything you already pay for. Your prompts, and often your data, live on someone else’s platform and get pasted back into your site as an afterthought.
Even when an AI tool does work quickly, there’s a reasonable question that follows. Will it actually do what you asked, or quietly configure something you didn’t want? Can you see what changed, and can you put it back if you don’t like the result?
Ninja Forms’ AI Form Builder answers both of those from inside the plugin you already use. Describe the form you need in plain language, get a working form back, then keep talking to it to refine anything, with a one click undo standing behind every change it makes.
What you’ll need
The AI Form Builder ships in Ninja Forms core, the free plugin, so there’s nothing extra to install and nothing extra to buy from us. You’ll need WordPress 7.0 or later, plus an AI provider connected under Settings > Connectors (Anthropic’s Claude or OpenAI, using your own API key). One thing worth knowing before you connect: provider API keys draw on prepaid API credits, which are separate from consumer chat subscriptions like Claude Pro or ChatGPT Plus. You load credits directly in the provider’s own developer console, and a typical form building session costs a few cents.
Describe the form you need and Ninja Forms builds it
This walkthrough covers the AI path. If you’d rather build a form field by field, our guide to creating a new form still applies.
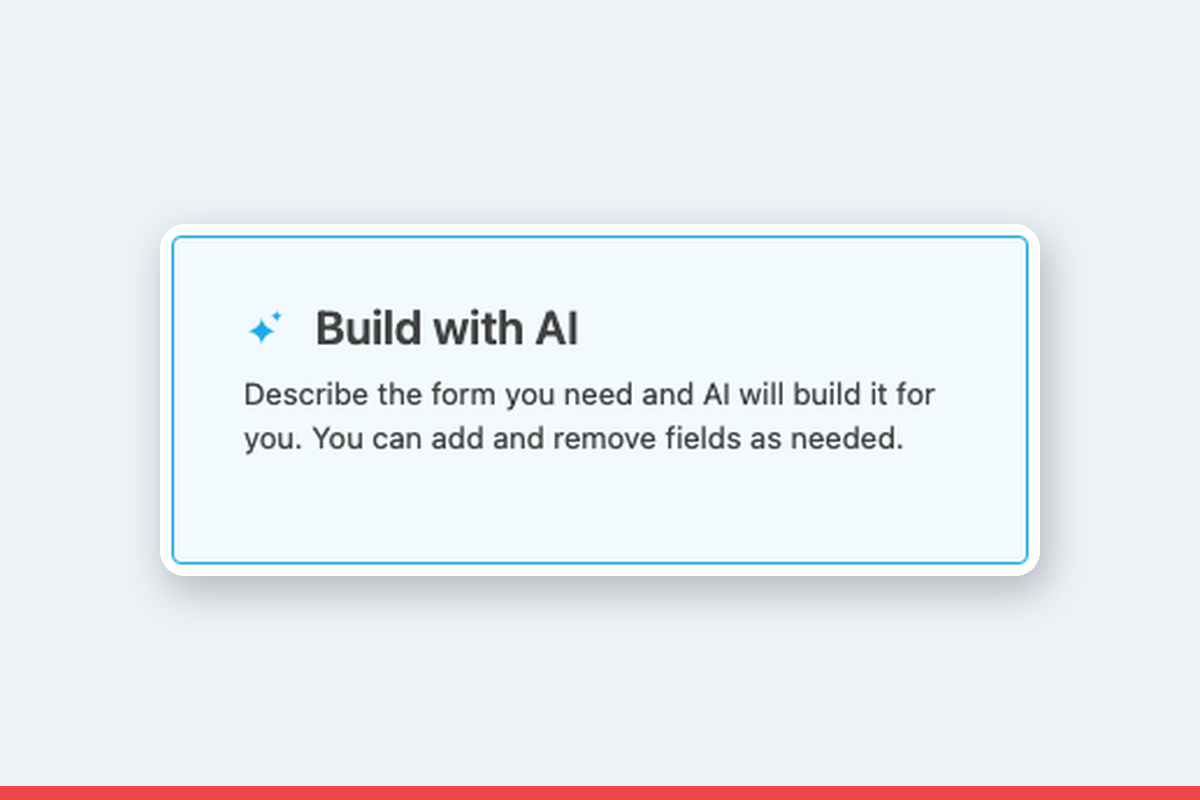
- Go to Ninja Forms > Add New and click the Build with AI tile, the first option on the grid.
- Describe the form you want in plain language.
- Click Generate Form.
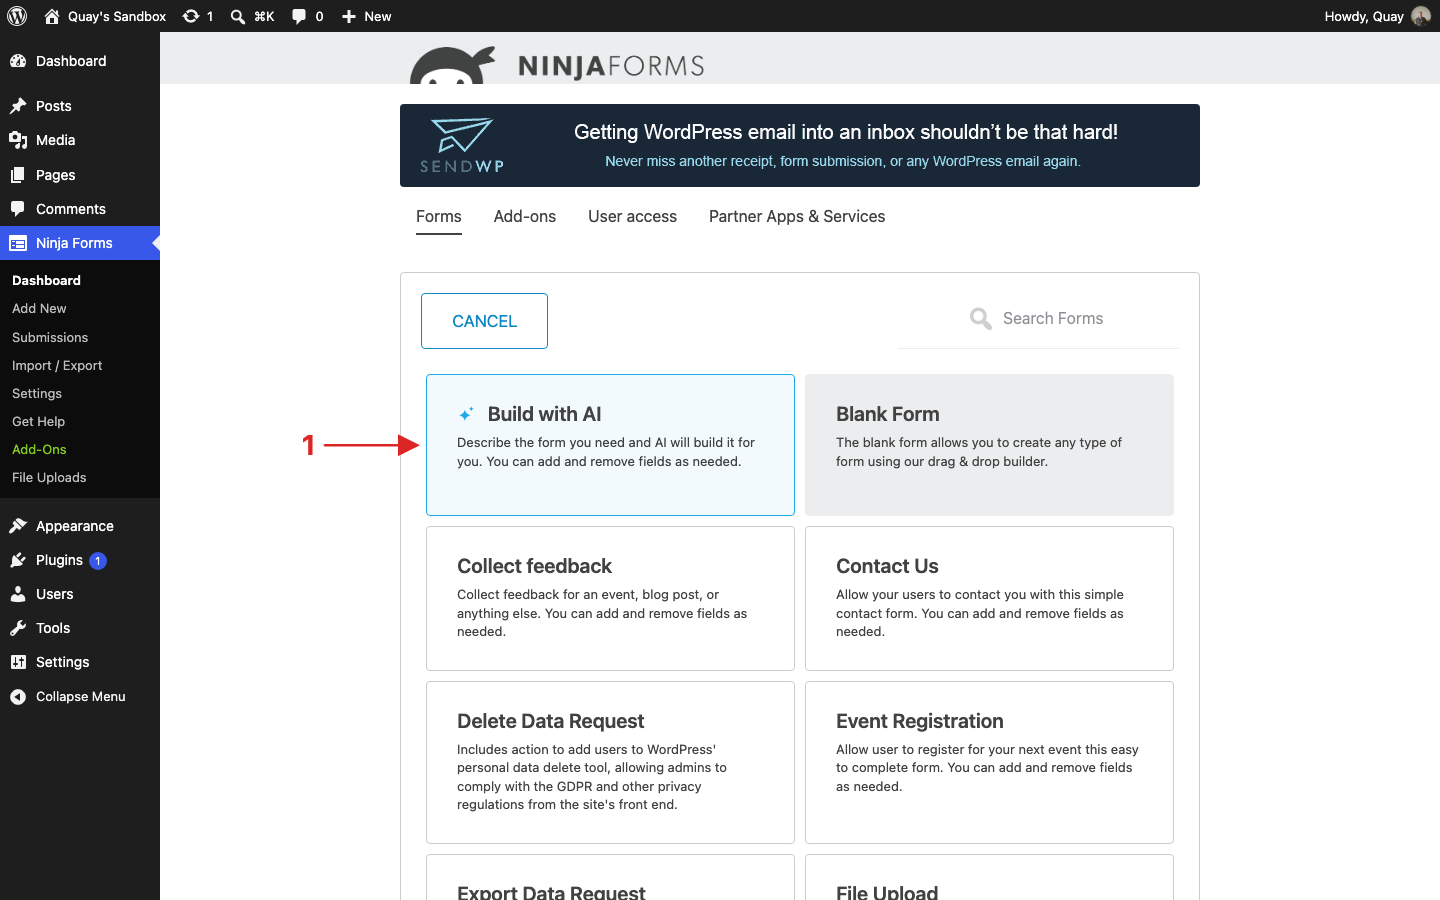
You get up to 2,000 characters for the description, and Ninja Forms only marks a field required when your description says so, so be explicit about what actually needs to be filled in. A description like this is enough:
“A catering quote request with name, email, event date, number of guests, and a message. Make email required.”
A few seconds later, a complete, published form opens in the builder: every field from your description, in order, with a submit button, a success message written for the form, an admin email notification, and, whenever the form collects an email address, a confirmation email back to whoever filled it out. Submissions get recorded just like they do on any form you build by hand. There’s no separate “AI mode.” Think of it as an AI form generator baked right into the builder: a generated form behaves exactly like one you assembled field by field yourself. And if you prefer driving Ninja Forms from an external AI assistant like Claude, that path exists too: you can build WordPress forms with AI agents through the WordPress Abilities API.
Give Ninja Forms a try today!
Ninja Forms is free! Optional premium features available with any membership.
Refine it by chatting, and undo any change instantly
A generated form is a starting point, not a final answer, and the AI Assistant is how you shape it into what you actually need. It lives on every form, not just ones you generated, so it works just as well on a form you built by hand. The form has to be saved at least once before the sparkle icon becomes clickable.
- Open the form in the builder, then click the sparkle icon in the header to open the AI Assistant.
- Type the change you want, or several changes in one message.
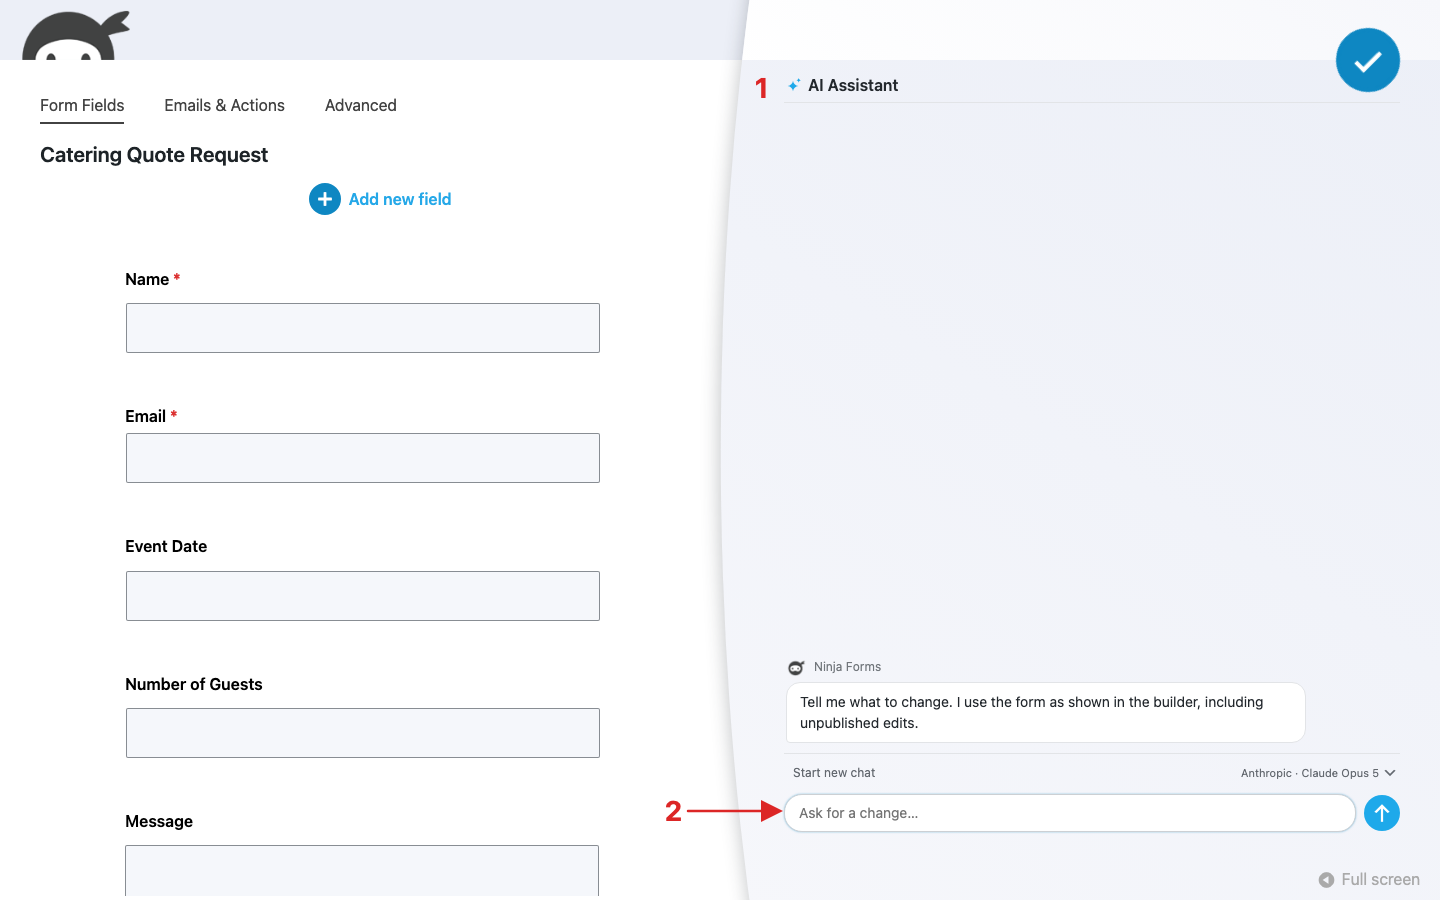
The assistant edits live on the canvas. It can add, change, reorder, or remove fields, including the options inside a list field. It can add, change, or remove actions like email notifications, change form settings, and build or edit calculations, the kind of formula work that’s normally the fiddliest part of the builder to get right by hand. You can ask for one change or batch several into a single message, like reordering fields, renaming the submit button, and adding a follow-up email all at once. Every conversation stays attached to its form, names, timestamps, and all, so it’s there the next time you open the builder. Starting a new chat resets it if you’d rather begin fresh.
Undo puts the form back exactly where it was
Every change the assistant makes appears with an Undo button underneath its reply. One click restores the form to how it was before that specific change, and it preserves field identity in the process, so submissions you’ve already collected stay linked to the right fields even after an undo.
It’s built to flag risk before it acts
Ask for something the assistant can’t do, and it’s built to say so up front rather than guess, leaving the form untouched. Before a change that could cost you data, like turning off submission recording, it’s designed to name what you’d lose and wait for you to confirm before making the change.
What leaves your site, and what doesn’t
Your description or chat message, along with the form’s structure, gets sent to whichever provider you connected. Your visitors’ submission data never does. Ninja Forms doesn’t hold your API keys and doesn’t run an AI service of its own; the relationship, and the data that flows through it, is between you and the provider you chose. If you’d rather not have any of this active, turning off Ninja Forms > Settings > Advanced > Disable AI Features removes every AI surface from the builder.
Start with a description, not a blank form
You’ve now seen what an AI form builder for WordPress can look like when it lives inside the plugin you already run: describe a form and get a working one back, keep talking to it until it matches what you actually need, and undo anything that doesn’t. That loop runs entirely inside Ninja Forms, on your own site, using a provider you control.
Try Ninja Forms Today
Always free, with premium features available through our memberships.