How to Build a Multi-Step Lead Form People Actually Finish
Ever built a multi-step lead form, only to watch your completion rate crater the moment the questions started asking for the stuff people hesitate over? Yeah. We’ve seen it too.
You want the good stuff: name, email, phone, maybe a budget or a timeline. Ask for all of it on one long page and people bail halfway through; ask for too little and you end up with leads that go nowhere. And if you’re capturing leads with a tool that lives outside WordPress, that data isn’t really yours: you’re renting access to your own leads every month.
None of that is a “try harder” problem; it’s a structure problem, and it’s fixable. Multi-step lead forms spread the questions out instead of dumping them all at once, and building yours natively in WordPress keeps the data yours. Below, we’ll cover both: how to order the questions so people actually finish, and how to build it in Ninja Forms with two add-ons and no code.
What you’ll need
- Ninja Forms (free)
- The Multi Step Forms add-on
- The Conditional Logic add-on
- Both are available a la carte, or included with select memberships
What should go on step one of a lead form (and what should wait)?
Order matters more than step count. Put the low-commitment, easy-to-answer questions first: what someone’s interested in, roughly how big the job is, what timeframe they’re working with. Save anything that feels like a commitment, like name, email, and phone, for the very last step, once they’ve already invested a little effort in your form.
You don’t need many steps to get the benefit. Two to four is plenty for most lead forms: enough to break the workload into bites, not so many that it starts to feel like a maze. Each step should feel like a small, easy “yes,” building up to the one question that actually matters to your sales process: how do we reach you?
One catch: this only works if those early questions are actually easy. Ask something on step one that makes a visitor stop and think, and the abandonment problem just moves down a step instead of going away. Lead with the answers they already know, and let the effort build gradually from there.
Structure is only one lever on lead-gen conversion. If you want more ways to squeeze extra completions out of your forms once this one’s in place, we’ve rounded up a longer list of lead-generation tips worth a look.
That’s the theory. Here’s what it actually looks like once you build it, and you won’t touch a line of code to do it.
Split your form into steps with Multi Step Forms
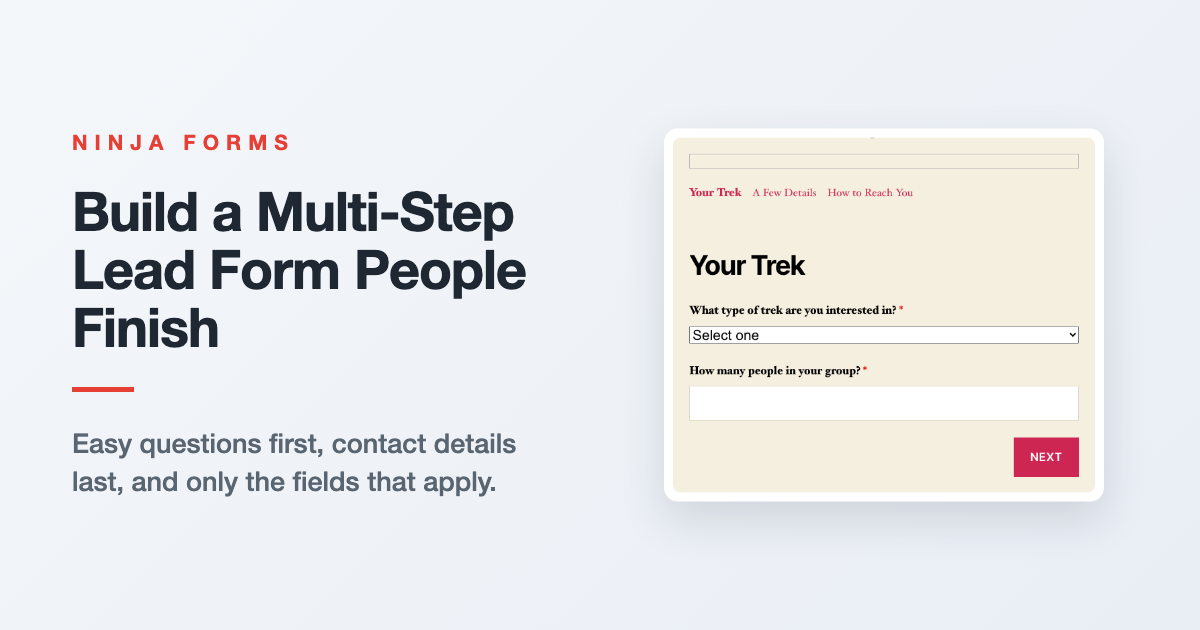
Multi Step Forms turns one long field list into a set of parts the visitor moves through with Next and Previous buttons, with a progress bar and breadcrumbs to show them how far they’ve got left. You build the whole form first, in the order you settled on above, then carve it into parts.
- Open your form and click into the Form Fields tab.
- Add your fields in order: qualifying questions first, contact fields (name, email, phone) last.
- Look for the small grey circle on the right edge of the builder canvas, about halfway down. On the last part it shows a plus icon; click it to start a new part.
- Add the fields that belong in that part, then click that plus icon again to start the next one (on earlier parts the same spot shows a chevron that moves you to the next part). Repeat until every field has a home.
- Click a part’s tab at the bottom of the canvas to give it a name (its Part Title), and drag a tab to reorder the parts if you need to.

Once your form has at least two parts, hop over to the Advanced tab and click into Multi Step Forms. This is where the display options live, and they only show up once there’s actually more than one part to display:
- Show Breadcrumbs, a navigation strip across the top of each part
- Show Progress Bar, a visual indicator of how far along the visitor is
- Show Part Titles, which displays each part’s name as a heading
- Validate Each Part, which stops a visitor from moving forward until that part’s required fields are filled in correctly
Turn on Validate Each Part. Without it, someone can click straight through every step and hit a wall of errors only when they try to submit, which defeats the entire point of breaking the form up.
Breadcrumbs and the progress bar are both worth turning on too. Seeing “step 2 of 3” is exactly the kind of small reassurance that keeps someone moving instead of wondering how much more they’re in for.

Save your form, and that’s it on the Multi Step Forms side. Your visitor now sees one part’s worth of fields at a time, with a progress bar and breadcrumbs keeping them oriented, and a Next button that only lets them through once that part is actually filled out.

Want to go further with page styling, or add a summary page before the final submit? We get into those extras in more depth in our guide to building a WordPress multi-page form. For a lead form specifically, though, the steps above are all you need.
Show extra fields only when they actually apply
Not every lead needs every field. Someone asking about a quick one-off job doesn’t need a company name field cluttering their step; someone submitting on behalf of an organization does. Conditional Logic lets you show or hide a field based on an earlier answer, so each visitor only ever sees the questions that apply to them, no matter which part they land in.
One thing worth setting up before you build the rule: give your qualifying dropdown a blank first option, something like “Select one.” Skip this and the browser will pre-select whatever option happens to be first on page load, and Ninja Forms treats that as a real answer immediately, which can make a conditional field appear (or stay hidden) before the visitor has actually chosen anything.
- Back in the Advanced tab, click into Conditional Logic.
- Click Add New Condition to start a rule.
- Set the When to check the qualifying field’s answer, using whichever comparator fits (Equals, Does Not Equal, Contains, and a handful of others).
- Set Do to Show Field, targeting the field you want to appear, and set If the Condition Is Not Met to Hide Field, targeting that same field. One rule handles both directions.
- If you need more than one condition to trigger the same result, combine them with the And/Or connector.

The rule doesn’t care which part the trigger field and the target field live in. Ask the qualifying question in step one and hide a follow-up field in step two, and the rule still works exactly the same way, live as the visitor moves between parts.
That’s the whole build. Order your questions from easy to committed, split them into parts people can see themselves finishing, and let Conditional Logic keep the form short for everyone by only asking what applies to them.
Give Ninja Forms a try today!
Ninja Forms is free! Optional premium features available with any membership.
Is “multi-step” the same thing as “multistep”?
Yes. They’re just two spellings of the same feature: a form broken into parts the visitor moves through one at a time, instead of one long page. Ninja Forms and most of the WordPress world write it “multi-step,” but you’ll run into “multistep” here and there too, and nothing about how the feature works changes either way.
Build your multi-step lead form today
You’ve now got what a single long page can’t give you: a lead form ordered so the easy stuff comes first and the commitment comes last, split into steps people can actually picture finishing, with Conditional Logic making sure nobody gets stuck answering questions that don’t apply to them. That beats handing your leads over to a separate SaaS tool that charges you monthly to keep them, and it’s a real edge over the wall-of-fields form you started with. Grab the Multi Step Forms add-on and give your next lead form room to breathe.
Try Ninja Forms Today
Always free, with premium features available through our memberships.